Managing a Hugo Site as a Web CMS
- Jorge Morán
- Self hosting
- July 15, 2024
- 12 min
In this post, we’ll create a web-based management tool to create posts on a Hugo blog, to do this, we’ll use Docker to deploy a VSCode Server instance with Caddy as a reverse proxy. We’ll also use Authelia to provide additional security by adding multi-factor authentication to access the VSCode server.
Table of Contents
Introduction to the Problem
My wife has been running her blog for a few years. However, neither one of us has been completely satisfied with Drupal’s user experience, particularly because before that she used WordPress before.
Although Drupal is good enough at what it does. I’d like her to have a more “design agnostic” experience. So, having her write her posts in Markdown and using a static site generator could achieve that. Not to mention all the security benefits of not running PHP.
The challenge is that UX-wise, writing posts as markdown can be difficult at first. Also, asking her to have a repo on her PC to manage it is a somewhat unreasonable request.
Solving the Problem
To improve Hugo’s UX, the idea is to create a web-based VSCode server where the website’s repo is already loaded. There, she should be able to write posts. I’ll set up as many extensions as necessary to improve the experience.
VSCode Server also has a great feature called “Ports”. It lets the user forward a port to the server where VSCode is hosted by using a custom path to reach it. We’ll use that feature so that she can view a rendered version without having to deploy the code.
Whenever she’s ready to publish a post, we’ll have a GitHub action that will deploy new content to a GitHub page.
Configuring the Server
We’ll need a few containers:
- A custom version of Code Server that will contain some additional binaries such as
hugoandjust. - Caddy to obtain SSL certificates and handle the _forward authentication .
- Authelia to handle the users and the MFA.
We’ll go through the configuration of each container, and we’ll
finish with the configuration of a docker-compose.yml file that
will be able to start all of them.
Configuring Code Server
In normal circumstances, this container should be good enough as-is.
However, in this case, I need it to have hugo to manage the
content, go just in case, and just to save a few repetitive
commands.
The Dockerfile mainly handles the installation of those applications. It would have been easier to install everything with brew . Unfortunately, this environment will be hosted in an arm64 machine. Brew, for now, is only available for x86_64 in Linux.
Let’s analyze the Dockerfile. We’ll reference this file later as vscode.Dockerfile.
FROM lscr.io/linuxserver/code-server:latest

# Update and install necessary packages
RUN sudo apt-get update && \
    sudo apt-get install -y curl xz-utils git wget jq && \
    sudo apt-get clean && \
    sudo rm -rf /var/lib/apt/lists/*

# Install Hugo dynamically
RUN HUGO_VERSION=$(curl -s https://api.github.com/repos/gohugoio/hugo/releases/latest | jq -r '.tag_name' | sed 's/^v//') && \
    wget https://github.com/gohugoio/hugo/releases/download/v${HUGO_VERSION}/hugo_${HUGO_VERSION}_linux-arm64.deb && \
    sudo dpkg -i hugo_${HUGO_VERSION}_linux-arm64.deb && \
    rm hugo_${HUGO_VERSION}_linux-arm64.deb


# Install Go dynamically
RUN GO_VERSION=$(curl -s https://go.dev/dl/?mode=json | jq -r '.[] | select(.files[].os=="linux" and .files[].arch=="arm64") | .version') && \
    GO_URL=$(curl -s https://go.dev/dl/?mode=json | jq -r '.[] | .files[] | select(.os=="linux" and .arch=="arm64") | .filename' | head -1) && \
    wget https://go.dev/dl/${GO_URL} && \
    sudo tar -C /usr/local -xzf ${GO_URL} && \
    rm ${GO_URL}
ENV PATH="/usr/local/go/bin:${PATH}"

# Download, extract, and set permissions for 'just' dynamically
RUN JUST_VERSION=$(curl -s https://api.github.com/repos/casey/just/releases/latest | jq -r '.tag_name') && \
    wget https://github.com/casey/just/releases/download/${JUST_VERSION}/just-${JUST_VERSION}-arm-unknown-linux-musleabihf.tar.gz && \
    tar -xzf just-${JUST_VERSION}-arm-unknown-linux-musleabihf.tar.gz -C /usr/local/bin just && \
    rm just-${JUST_VERSION}-arm-unknown-linux-musleabihf.tar.gz && \
    sudo chmod +x /usr/local/bin/just

# Expose code-server default port
EXPOSE 8443
Before installing anything, the Dockerfile uses apt to download a
few dependencies and update the repository.
To install hugo and just, the Dockerfile uses GitHub’s API to obtain the latest version of the package and then proceeds to download and install it. In the case of Hugo, GitHub’s release is a .deb package. In the case of just, the release is a tarball that we need to decompress.
In the case of go, we use their API to obtain the latest version and then we download a tarball and install it.
There are a few other aspects that Code Server lets us configure, for instance:
- Code Server also lets us define a password. We’ll use this functionality to add another layer of security to our environment.
- We can define the structure of the URL when we forward a port to the container.
We’ll analyze these options in detail when we explore the structure
of our docker-compose.yml file.
Configuring Caddy
Caddy’s configuration is very straightforward, let’s start by
analyzing the Caddyfile.
This configuration is based on Authelia’s guide for Caddy integration.
{
        email "[email protected]"
}

(trusted_proxy_list) {
       ## Uncomment & adjust the following line to configure specific ranges which should be considered as trustworthy.
       #trusted_proxies 10.0.0.0/8 172.16.0.0/12 192.168.0.0/16 fc00::/7
       trusted_proxies 172.16.25.0/24
}

# Authelia Portal.
authcode.totymaria.com {
        reverse_proxy authelia:9091 {
                ## This import needs to be included if you're relying on a trusted proxies configuration.
                import trusted_proxy_list
        }
}

# Protected Endpoint.
code.totymaria.com {
        forward_auth authelia:9091 {
                uri /api/authz/forward-auth
                ## The following commented line is for configuring the Authelia URL in the proxy. We strongly suggest
                ## this is configured in the Session Cookies section of the Authelia configuration.
                # uri /api/authz/forward-auth?authelia_url=https://auth.example.com/
                copy_headers Remote-User Remote-Groups Remote-Email Remote-Name

                ## This import needs to be included if you're relying on a trusted proxies configuration.
                import trusted_proxy_list
        }
        # Originally 8080
        reverse_proxy code-server:8443 {
                ## This import needs to be included if you're relying on a trusted proxies configuration.
                import trusted_proxy_list
        }
}

# Protected Endpoint.
1313.totymaria.com {
        forward_auth authelia:9091 {
                uri /api/authz/forward-auth
                ## The following commented line is for configuring the Authelia URL in the proxy. We strongly suggest
                ## this is configured in the Session Cookies section of the Authelia configuration.
                # uri /api/authz/forward-auth?authelia_url=https://auth.example.com/
                copy_headers Remote-User Remote-Groups Remote-Email Remote-Name

                ## This import needs to be included if you're relying on a trusted proxies configuration.
                import trusted_proxy_list
        }
        # Originally 8080
        reverse_proxy code-server:1313 {
                ## This import needs to be included if you're relying on a trusted proxies configuration.
                import trusted_proxy_list
        }
}
The first section of the Caddyfile defines an email. This is used by the ACME protocol to issue the certificates each VHost requires.
After that, we define a list of trusted proxies which will later be
used in the reverse_proxy directive. We define trusted proxies for
Caddy to trust the device that provides the user’s real IP. The
default configuration has a few suggestions. In this configuration,
we are defining 172.16.25.0/24, which is the subnet where the
containers are located.
Tip
With Caddy plugins, we can also use trusted_proxies to define trust with platforms such
as
CloudFront
or
CloudFlare
.
Next, we define three virtual hosts in Caddy: authcode.totymaria.com,
code.totymaria.com, and 1313.totymaria.com.
-
The domain
authcode.totymaria.compoints directly to Authelia’s container, it has no additional configurations other than importing the list of trusted proxies that we previously defined. It’s important to note that since we didn’t explicitly define a protocol, Caddy will try to obtain a certificate from Let’s Encrypt and it will prefer HTTPS. -
The domain
code.totymaria.compoints to the VSCode server container. This host has an important directive which is calledforward_auth. In this section, we point to Authelia as the forward authentication provider, we also copy a few HTTP headers and import the list of trusted proxies. We also have a regularreverse_proxysection where we point to our VSCode server container. Caddy will only let us access our VSCode container if we have previously authenticated successfully with Authelia. -
The domain
1313.totymaria.comhas the same configuration ascode.totymaria.com, the goal of this domain is to provide a way to view a rendered version of the site withhugo serverwithout having to deploy the site. This is in essence a development environment. That’s the reason why it should also be protected by Authelia. It’s important to note that in this virtual host, Caddy points to our VSCode server but it points to a different port. In this case,1313.
Configuring Authelia
Authelia’s configuration is critical as it is the component that secures the whole setup.
We’ll use a simplified version of the configuration. We won’t use an SMTP server, and for the database, we’ll use SQLite.
Let’s start with the authelia/user_database.yml file.
---
users:
  authelia:
    disabled: false
    displayname: "Your User"
    password: "$6$rounds=50000$BpLnfgDsc2WD8F2q$Zis.ixdg9s/UOJYrs56b5QEZFiZECu0qZVNsIYxBaNJ7ucIL.nlxVCT5tqh8KHG8X4tlwCFm5r6NTOZZ5qRFN/"  # yamllint disable-line rule:line-length
    email: [email protected]
    groups:
      - dev
...
The fields of this file are very self-descriptive. The sample file is
based on
this
file. The sample user’s password is authelia. We can generate a new
password hash by using the argon2id algorithm. There’s a
website
that we can use to generate them.
Let’s continue with authelia/configuration.yml.
server:
  endpoints:
    authz:
      forward-auth:
        implementation: 'ForwardAuth'
session:
  cookies:
    - domain: 'totymaria.com'
      authelia_url: 'https://authcode.totymaria.com'
      default_redirection_url: 'https://code.totymaria.com'

authentication_backend:
  file:
    path: /config/users_database.yml
    password:
      algorithm: argon2id
  password_reset.disable: true

access_control:
  rules:
  - domain: "code.totymaria.com"  # Specifies the exact domain
    policy: two_factor  # Ensures two-factor authentication for this domain
    subject:
    - "group:dev"  # Only users within the 'dev' group are allowed access
  - domain: "1313.totymaria.com"  # Specifies the exact domain
    policy: two_factor  # Ensures two-factor authentication for this domain
    subject:
    - "group:dev"  # Only users within the 'dev' group are allowed access
  default_policy: 'deny'

storage:
  local:
    path: /config/db.sqlite
  encryption_key: 4701604837002663045352040718330354a  # Generate a strong random key

notifier:
  filesystem:
    filename: /config/authelia_notifications.txt
In the server section, we define that we are using the
ForwardAuth which is one of the available proxy
authorization
methods in Authelia.
In the session section we define cookie configuration which
Authelia later uses to verify if a user can access a protected site
or not. The domain
directive
is usually the apex domain or the same domain that Authelia uses. The
important detail is that Authelia needs to be able to manipulate
cookies in that scope.
The authelia_url directive contains the path of our Authelia
install.
The default redirection URL is the location where users are sent when Authelia cannot detect the target URL where the user was heading.
In the authentication_backend section, we define the source of the
credentials that Authelia will verify during authentication. In this
case, we are using a yaml file. However, in more robust
implementations we could also use LDAP.
In the access_controls section, we define the rules that Authelia
enforces to access specific domains. For both domains, we are
specifying that our user needs to be part of the dev group. And
that the user should have two-factor authentication. If we enforce
2FA, upon logging in the first time, the user is prompted to
configure the second factor. It’s important to note that we are
defining a default policy that denies any other scenario not
previously configured.
The storage section defines a database where Authelia stores its
data. In this case, we are using SQLite.
Warning
If you’re using this configuration example, please change the encryption_key value.
Finally, the notifier section defines how Authelia sends
notifications. An instance where this is useful is when enrolling the
second-factor authentication mechanism. In this case, since our
implementation is relatively small, we can query the file and obtain
the enrollment value to configure 2FA. In more robust implementations
we could use SMTP to send notifications via e-mail.
Configuring our docker-compose.yml file
Now we need to analyze the docker-compose.yml file that starts all
the containers.
version: '3.8'
services:
  caddy2:
    container_name: caddy2
    restart: unless-stopped
    image: caddy:latest
    volumes:
      - ./caddy_config:/config
      - ./caddy_data:/data
      - ./Caddyfile:/etc/caddy/Caddyfile
    ports:
      - 80:80
      - 443:443
    environment:
      - PGID=1000
      - PUID=1000
      - TZ=America/Guayaquil
    networks:
      - caddy_net

  code-server:
    image: custom-vscode
    build:
      context: .
      dockerfile: ./vscode.Dockerfile
    container_name: code-server
    environment:
      - "HASHED_PASSWORD=$$argon2i$$v=19$$m=16,t=2,p=1$$am9yZ2VhYWFh$$saXWwqZBCzasBsGK1gBicw" # The password is changethis
      - PUID=1001
      - PGID=1001
      - TZ=America/Guayaquil
      - VSCODE_PROXY_URI=https://{{port}}.totymaria.com
    volumes:
      - ./code-data:/home/coder
      - /opt/codeProjects:/projects
    networks:
      - caddy_net

  authelia:
    image: authelia/authelia
    container_name: authelia
    volumes:
      - ./authelia:/config
    networks:
      - caddy_net

networks:
  caddy_net:
    ipam:
      config:
        - subnet: 172.16.25.0/24
First, let’s notice that at the end of the file, we have a networks
section. We have a network called caddy_net that defines that our
containers will be in 172.16.25.0/24. We can notice that this is
the same network that we previously defined as our trusted proxies in
Caddy.
Let’s analyze the services now.
-
Caddy: In this section, we define
caddy:latestas the image we’ll use. We also mount the Caddyfile we previously defined and define two directories for /data and /config respectively. Caddy is the only service that exposes ports. In this case, 80 and 443. We also define a few environment variables. Finally, we add the container to our caddy_net network. -
Code Server: In this section, we are using a custom image, which is why we use the
builddirective to point to our Dockerfile. In the environment variables, we are setting the HASHED_PASSWORD. This value is a global password that we need to use to access VSCode. If we wanted to, we could remove this. But in my case, I kept it to add a security layer after Authelia.
The other noteworthy value we are setting is the VSCODE_PROXY_URI. This value defines the structure of a virtual host that VSCode server starts in its container when an application starts listening in a particular port.

This is the reason why we have the https://1313.totymaria.com
domain in the Caddy file, to be able to reach this virtual host.
For this container, we define a volume for VSCode configuration and
another volume where our site’s code is located.
Finally, we also added this container to the caddy_net network.
- Authelia: In this section, we are using the standard Authelia
image. The only noteworthy part is that we are mounting the
authelia directory where our configuration.yml and our
user_database.yml files should be. In this directory, Authelia
will also create the
authelia_notifications.txtfile for messages that it needs to send users and the db.sqlite file where it persists information.
Running the project
Now that we have everything in place, we can run the docker-compose file. The first time it might take a while to start because it needs to pull and build the containers. Let’s run it.
ubuntu@machamp:/opt/docker$ sudo docker-compose up -d
[+] Running 5/5
 ⠿ Network docker_caddy_net  Created           0.1s
 ⠿ Container authelia        Started           0.1s
 ⠿ Container caddy2          Started           0.1s
 ⠿ Container code-server     Started
Now that our containers are running, we can navigate to the main domain we want to protect, and it should redirect us to Authelia.
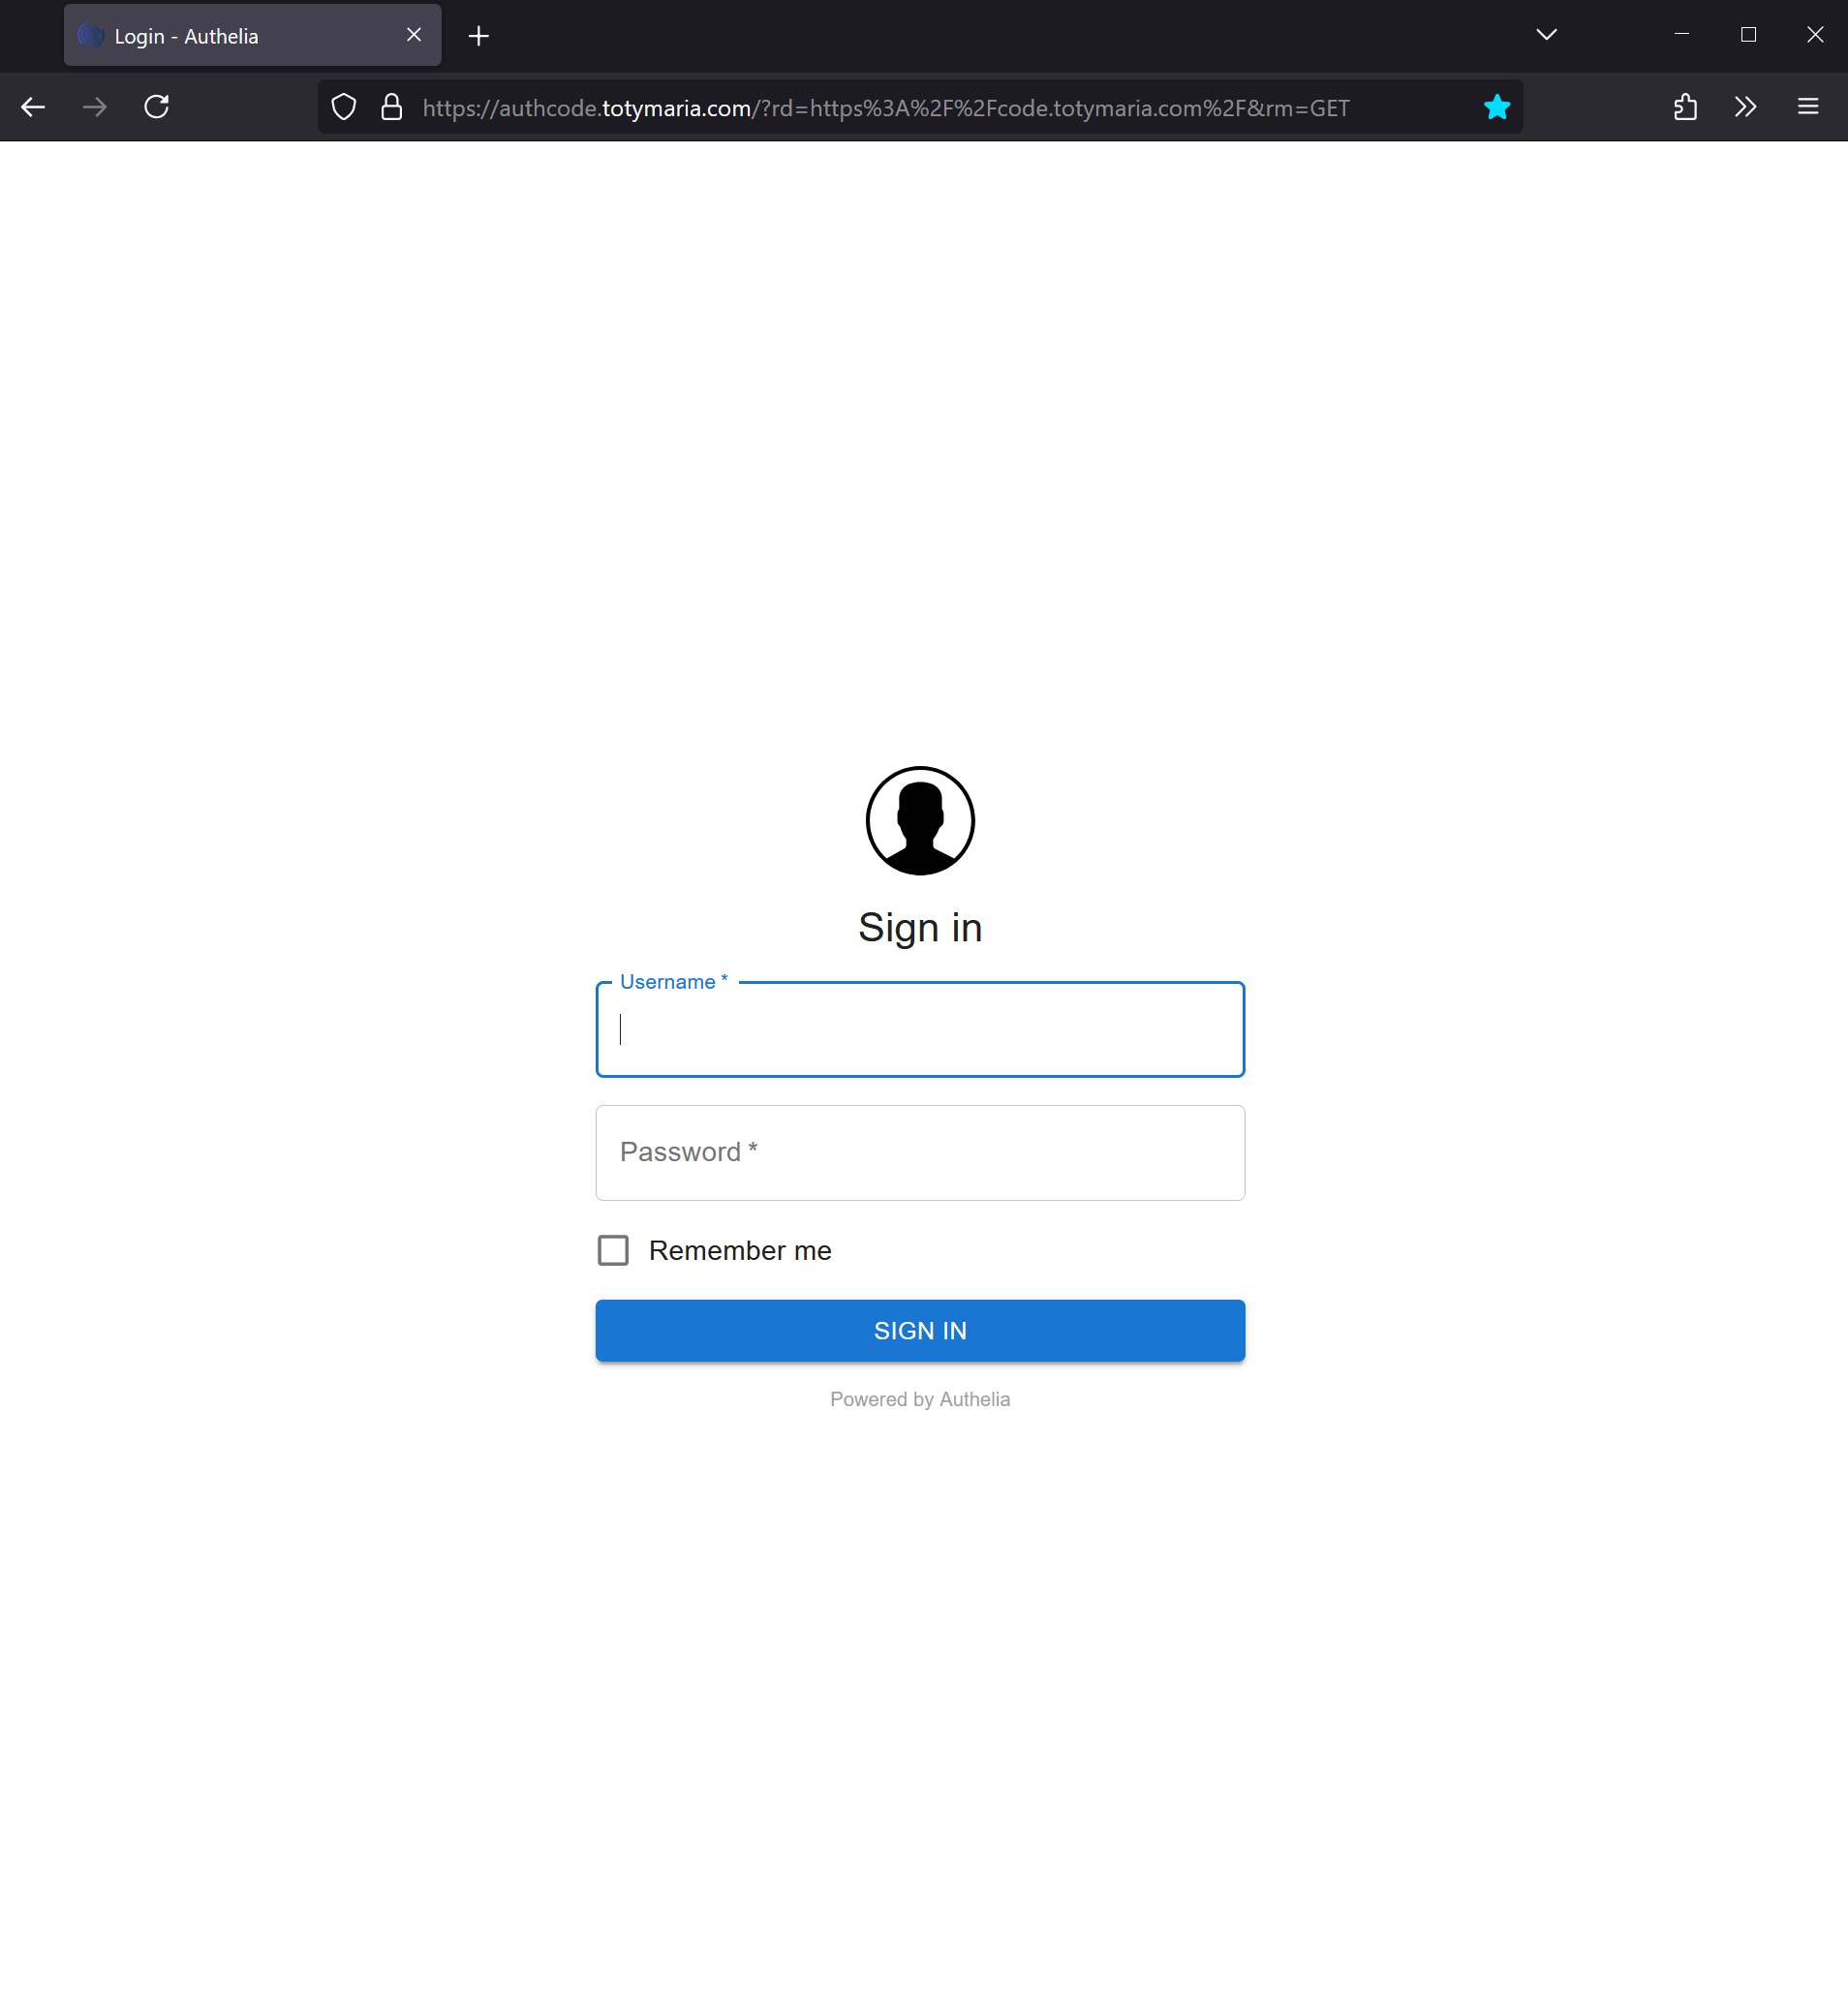
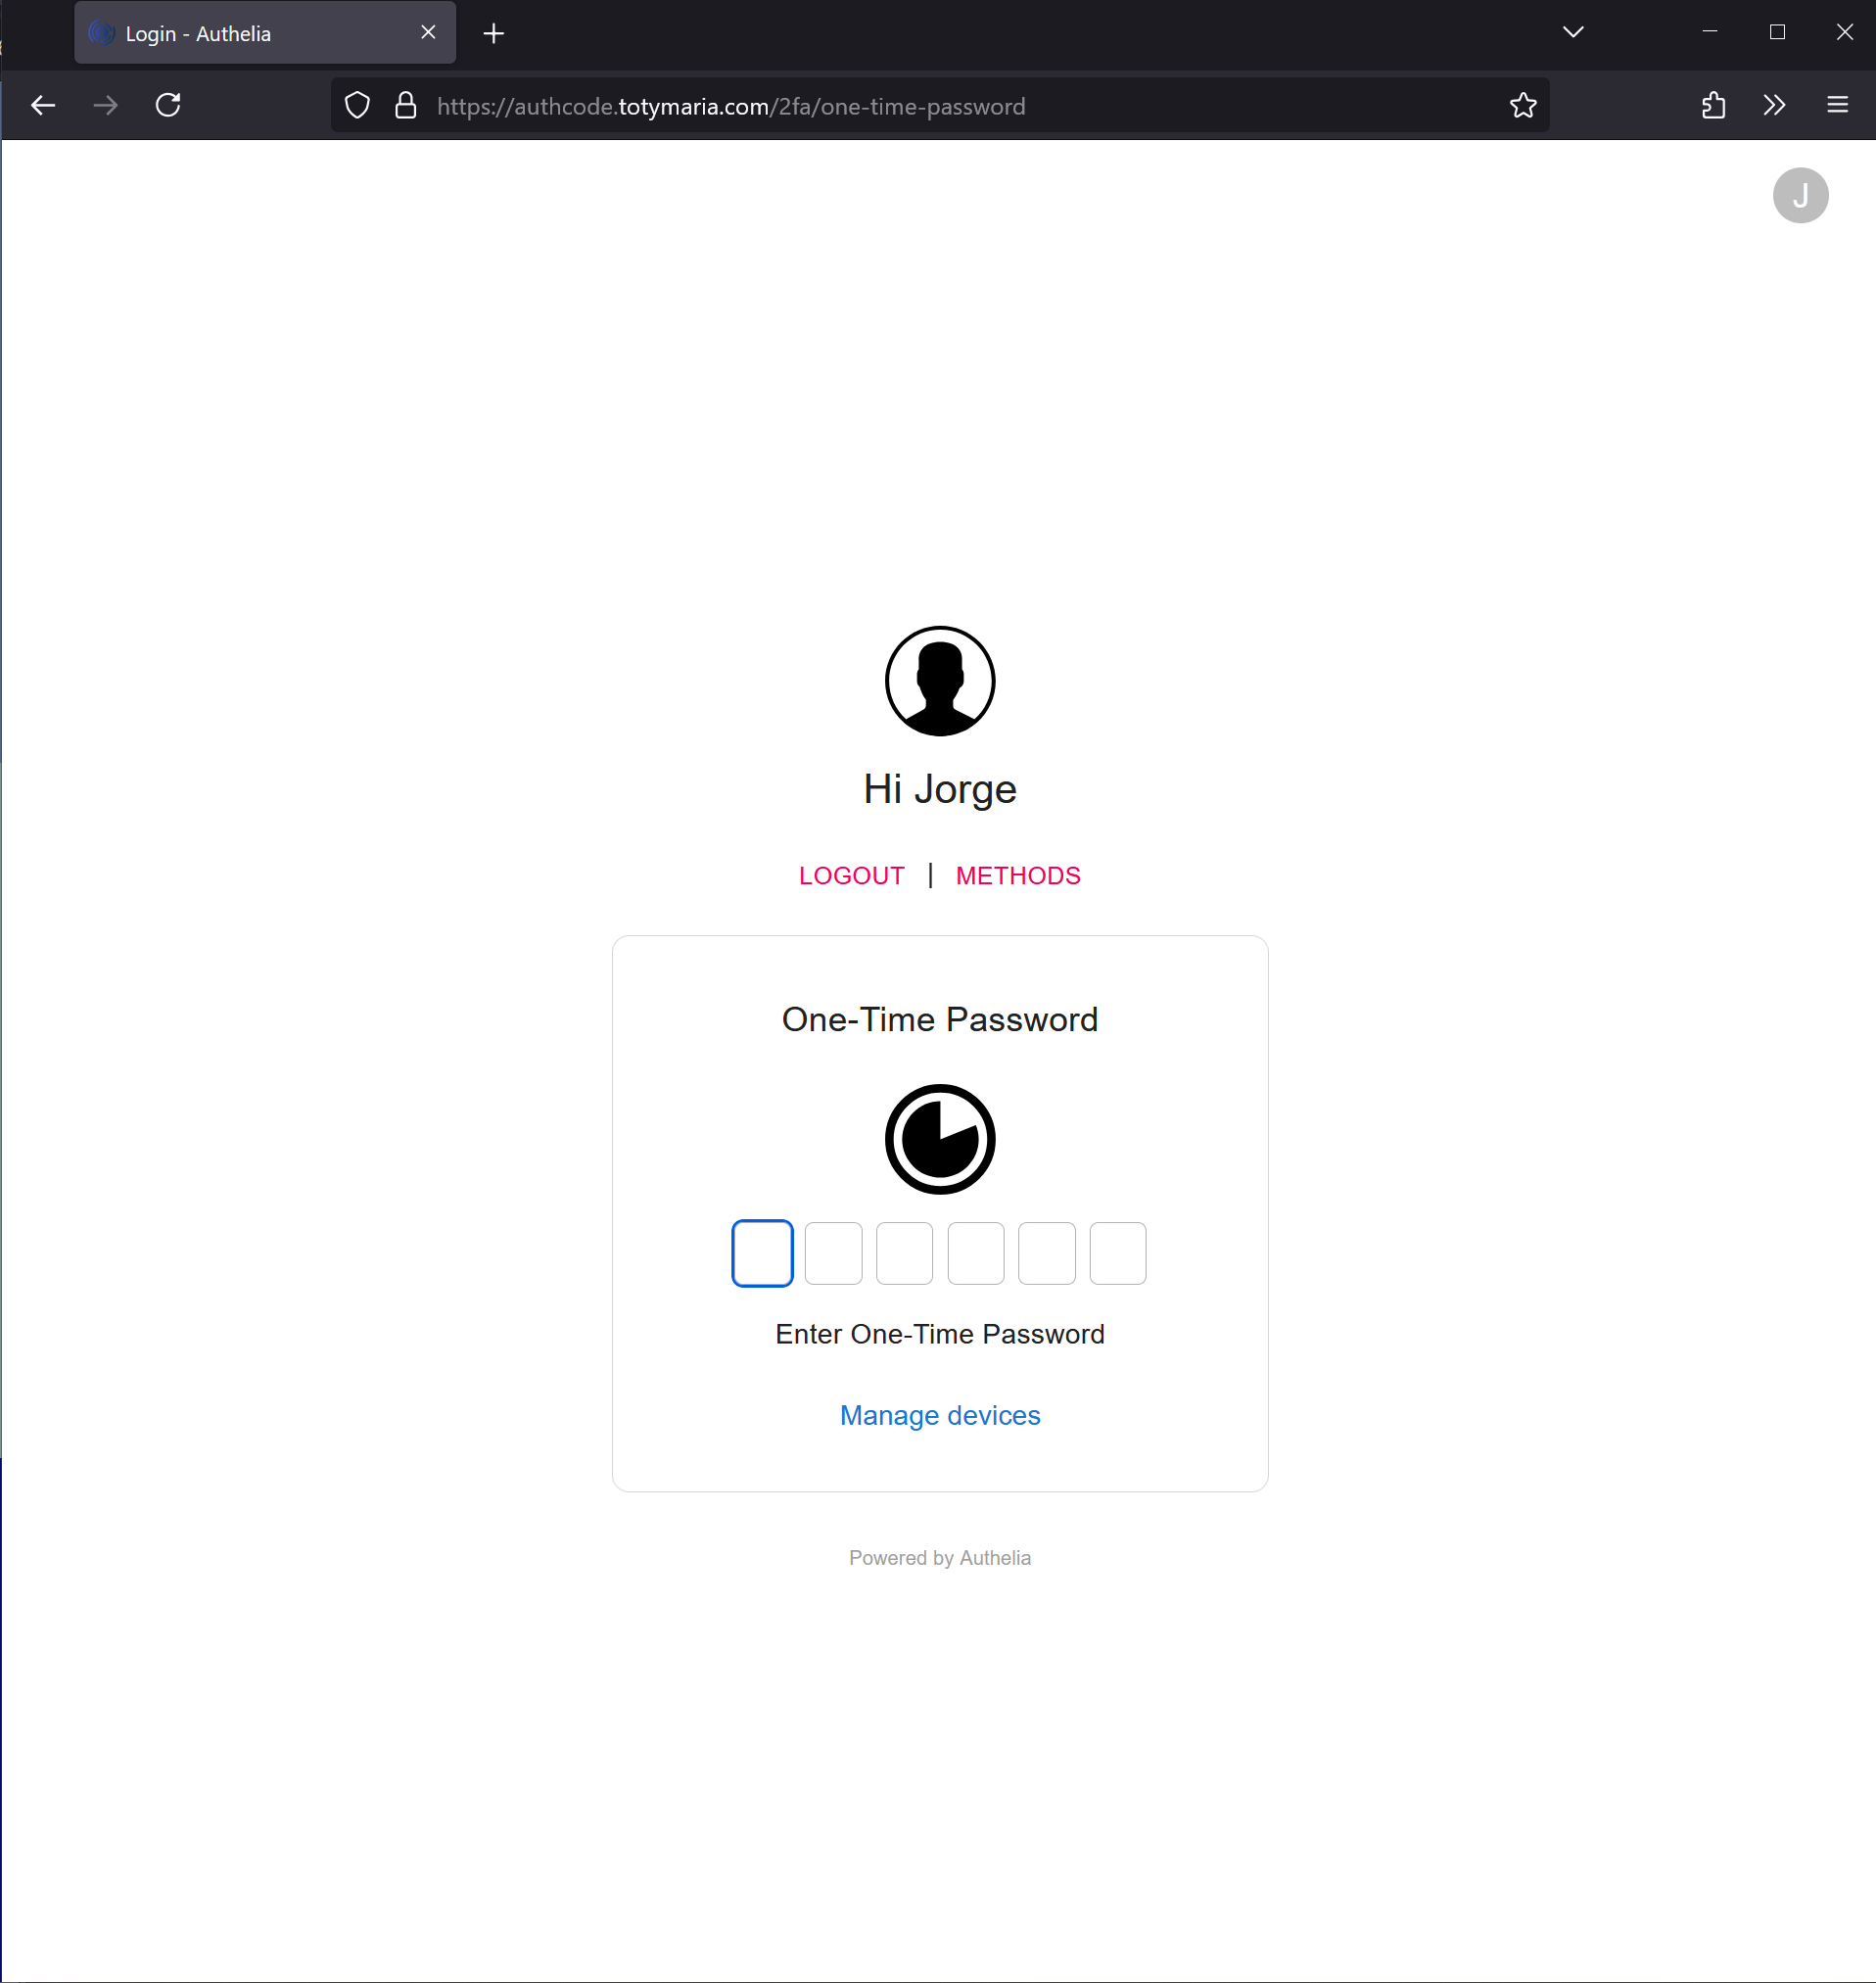
Since we have 2fa configured, the first time we’ll be prompted to set it up. However, on subsequent occasions, we’ll only be prompted for our code.
Since our configuration also includes a VSCode password, we should be prompted for that as well.
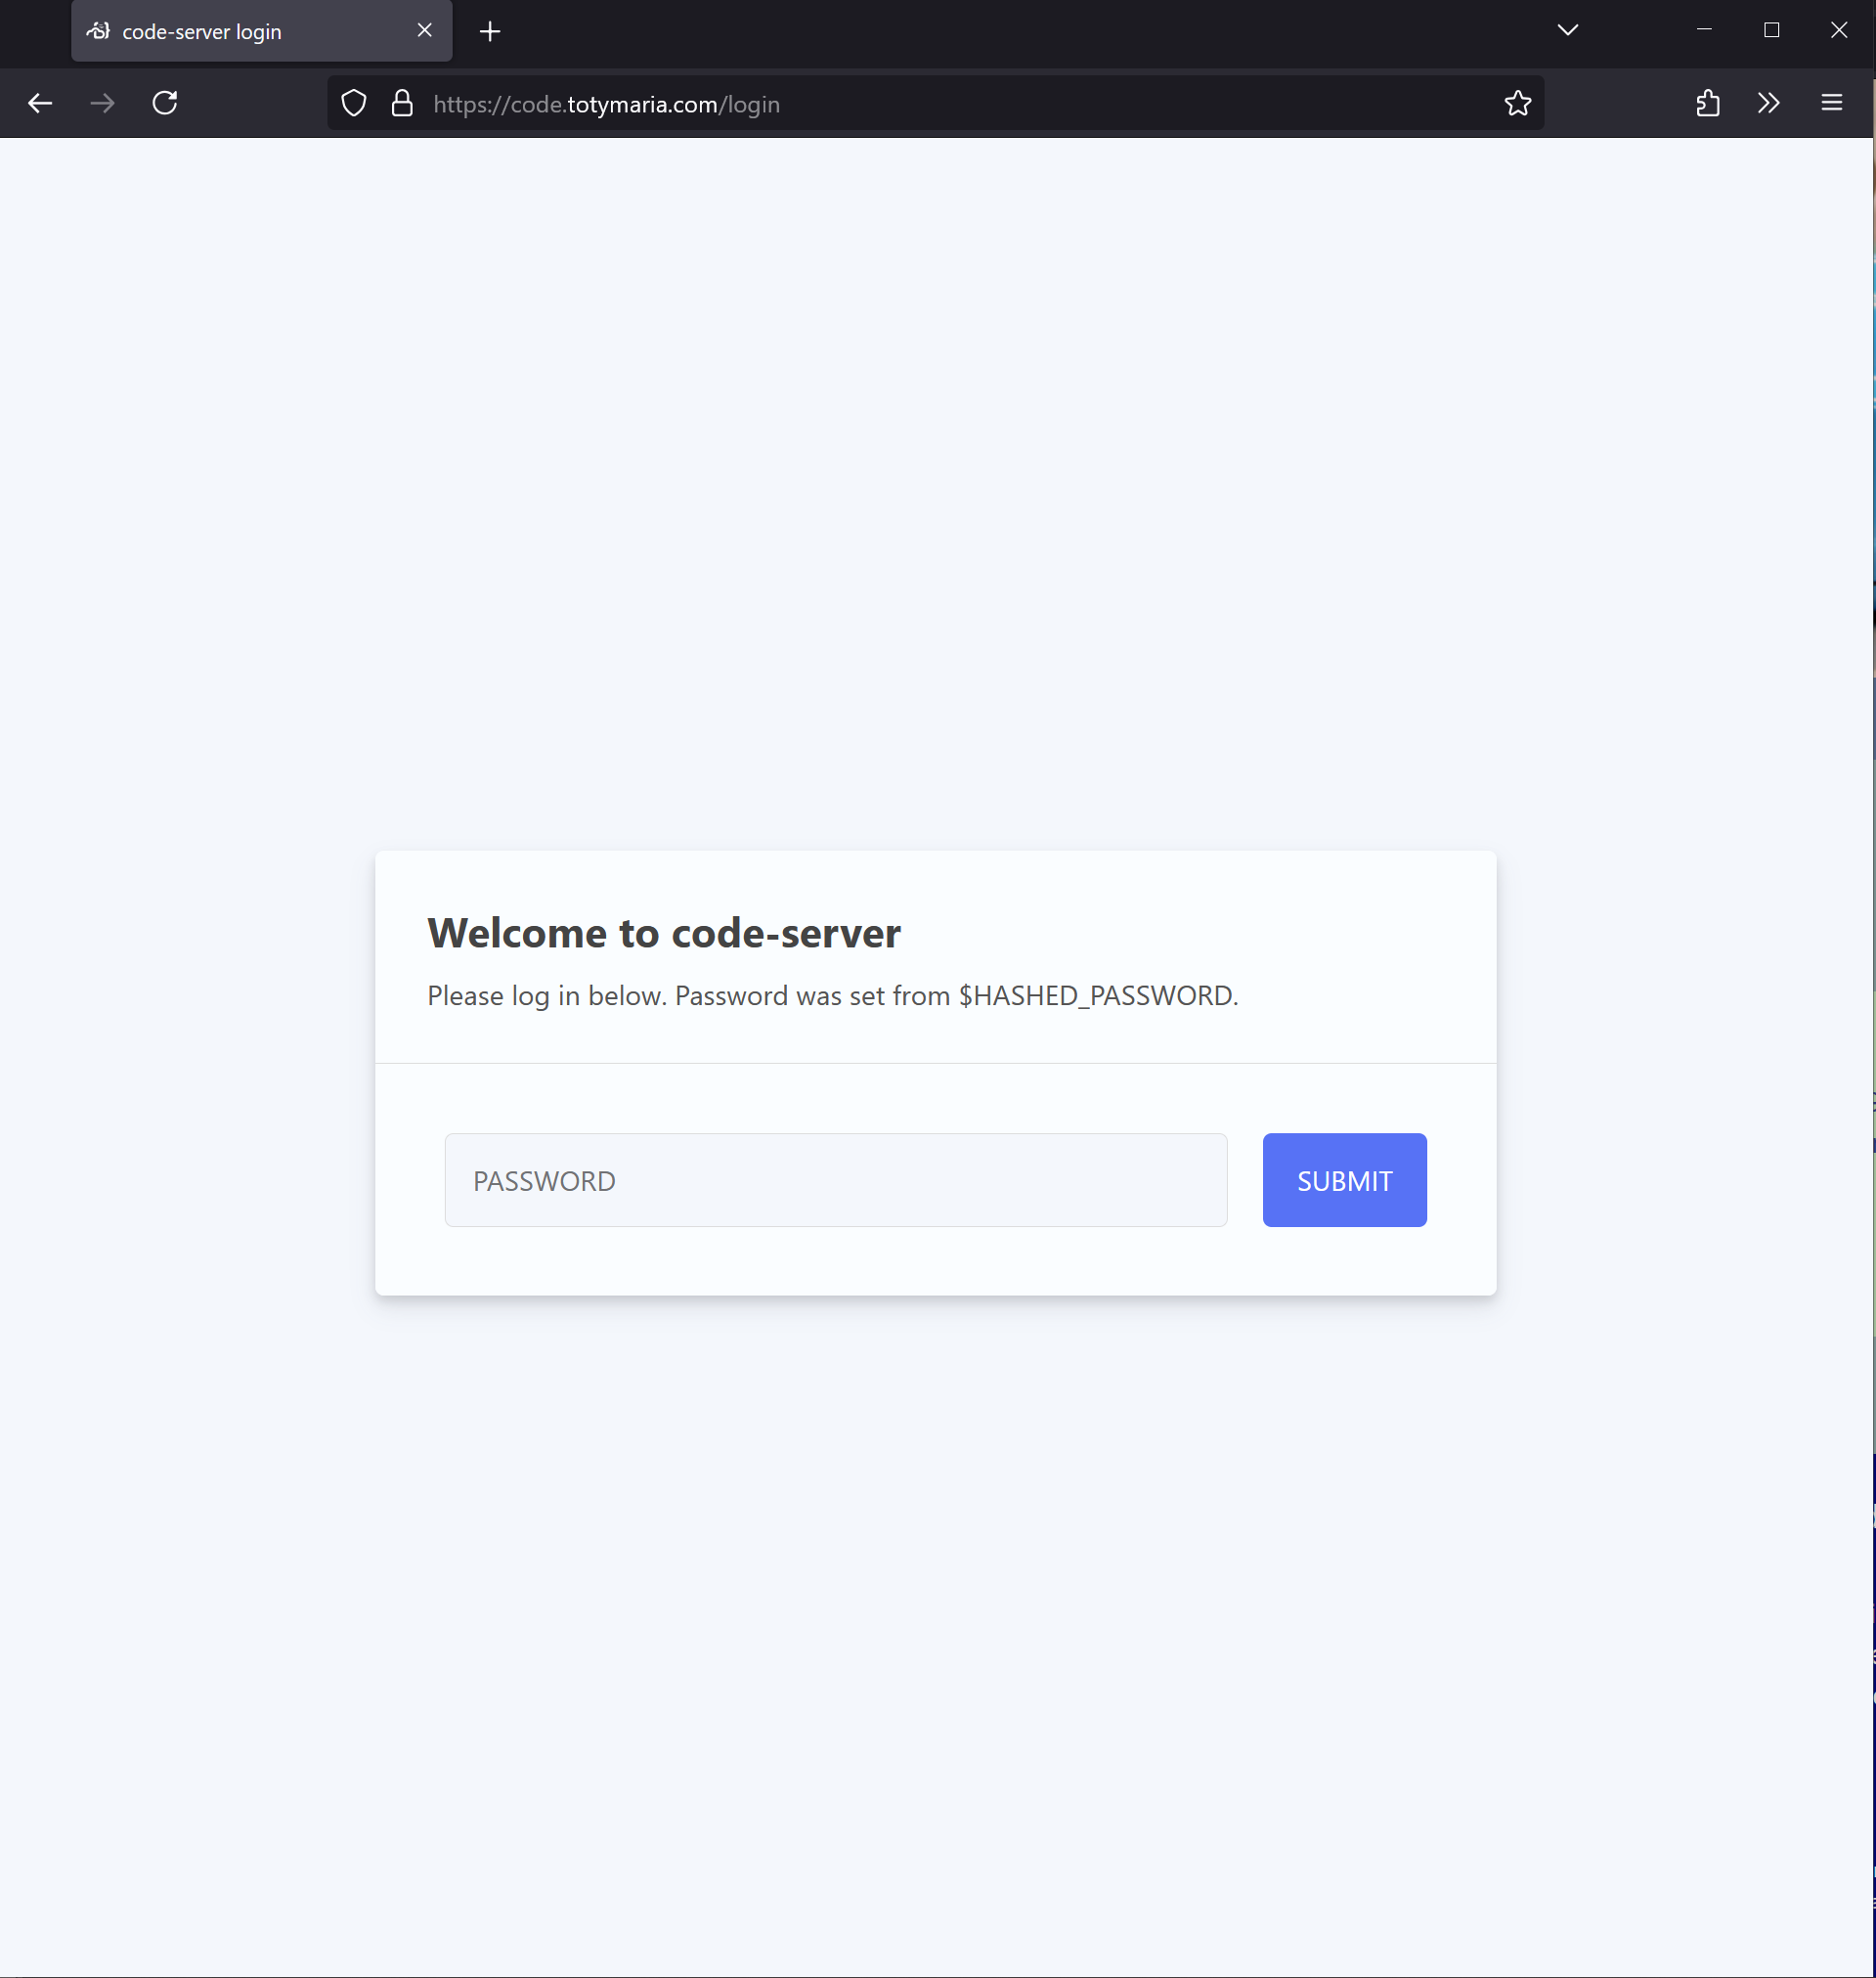
After entering that password, we are ready to start using VSCode to manage our Hugo site.
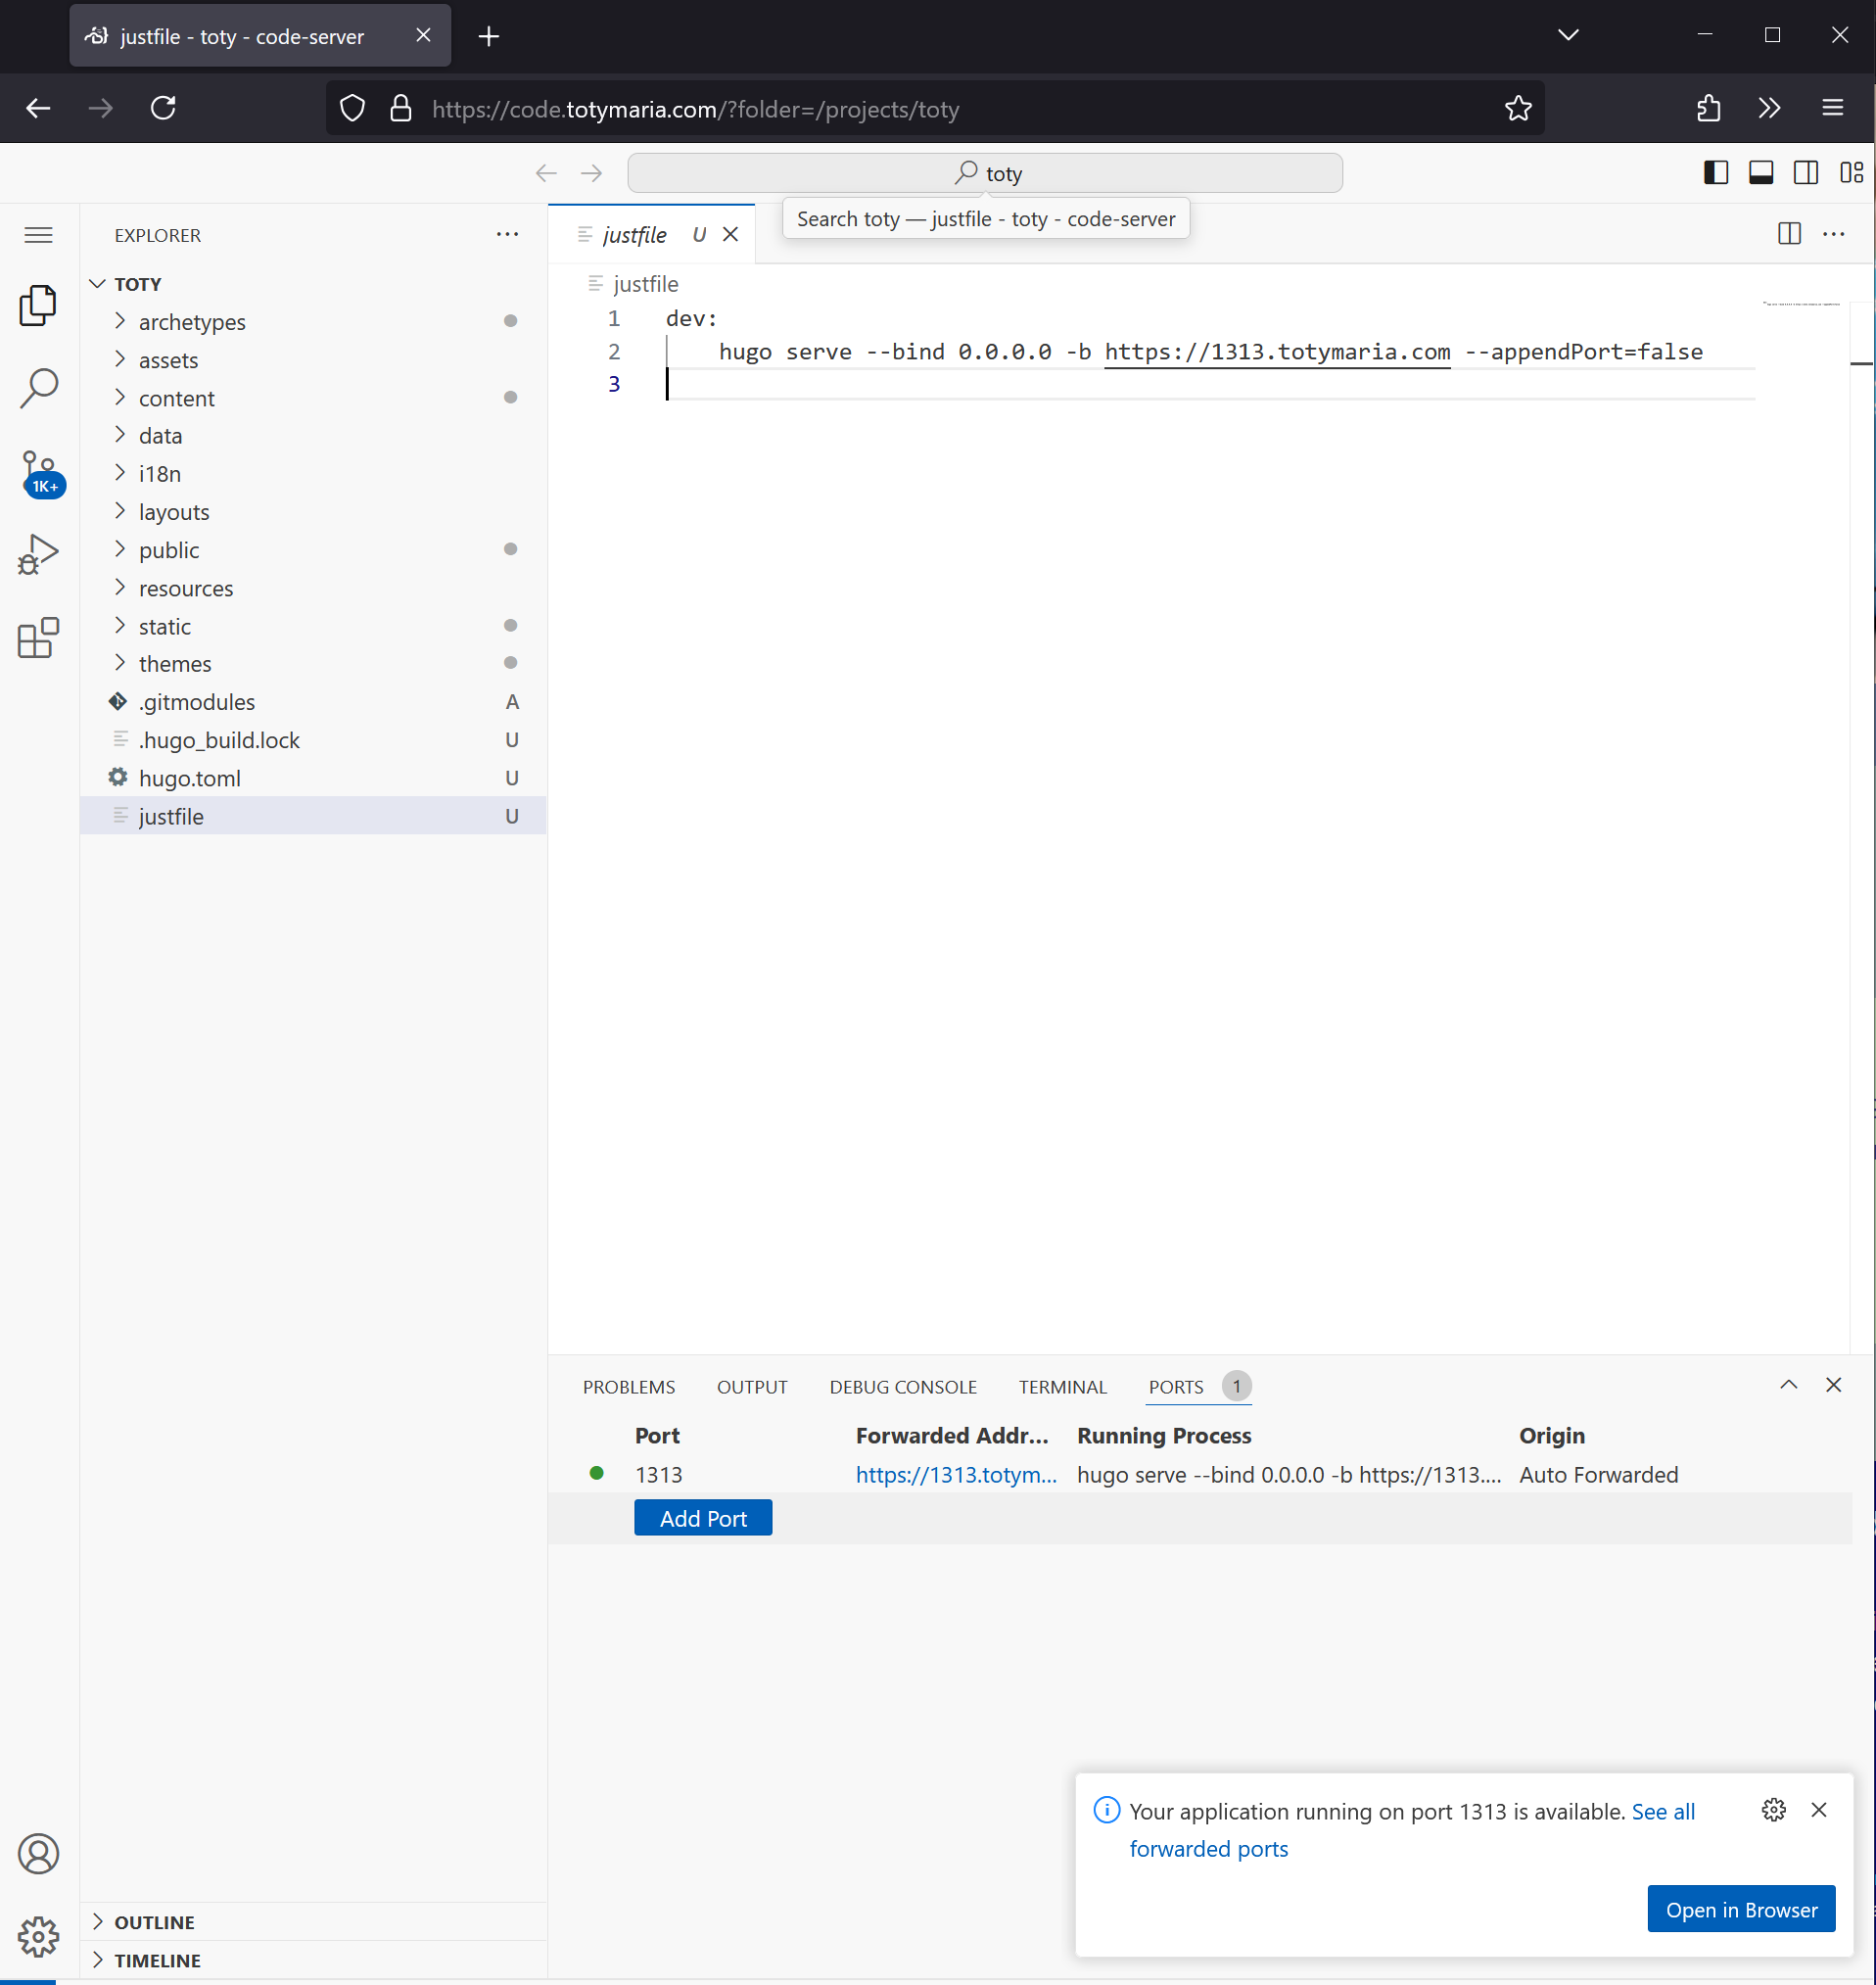
Finally, we are ready. We can note on the ports panel that hugo serve is running and the address is the one that we defined as part
of VSCode environment variables.
In this post, we have analyzed how to use Authelia and Caddy to provide a layer of security for a VSCode Server instance.
