Mounting the Internal and External SD Card on Kali NetHunter
- Jorge Morán
- Android
- May 10, 2024
- 5 min
A few weeks ago I got a Samsung Tab S9+ . I was super excited because even though I had used Dex Mode before, the idea of being able to use it without connecting the device to an external monitor made it better for more use cases than other tablets.
Dex provides a great desktop experience, but I wanted more. This was when I started experimenting with NetHunter. Kali’s documentation is spectacular. It didn’t take me long to install NetHunter and run it the first time.
I made the mistake of using RealVNC to connect to it instead of the recommended Kex Client . After I started using the recommended client, my experience improved greatly.
However, by default, I couldn’t access the internal and external SD cards of my tablet. I knew it should be possible because Termux , which is the app that we need to start NetHunter, has access to both storage devices.
Before we start, this comes with a caveat. The access to the internal SD card is good because we can access most of it, except for the /sdcard/Android directory, which is reserved for each app so they can have their own independent space. However, for the external SD card, we’ll be restricted to a Termux path inside the external SD card. It wasn’t a deal breaker for me, but it might be for some people.
To grant us access to the storage, Termux has a built-in command called termux-setup-storage. This command creates a ~/storage directory with symlinks that take us to specific places such as the location of DCIM (pictures), the Music and the Download directories. If our device has an external SD card, it’ll also provide a symlink to /storage/${CARD_IDENTIFIER}/Android/data/com.termux/files. Let’s analyze the symlinks of a typical configuration.
❯ ll
lrwxrwxrwx. u0_a351 u0_a351 24 B Wed May 8 21:00:04 2024 dcim@ ⇒ /storage/emulated/0/DCIM
lrwxrwxrwx. u0_a351 u0_a351 28 B Wed May 8 21:00:04 2024 downloads@ ⇒ /storage/emulated/0/Download
lrwxrwxrwx. u0_a351 u0_a351 48 B Wed May 8 21:00:04 2024 external-1@ ⇒ /storage/04B9-4C7A/Android/data/com.termux/files
lrwxrwxrwx. u0_a351 u0_a351 26 B Wed May 8 21:00:04 2024 movies@ ⇒ /storage/emulated/0/Movies
lrwxrwxrwx. u0_a351 u0_a351 25 B Wed May 8 21:00:04 2024 music@ ⇒ /storage/emulated/0/Music
lrwxrwxrwx. u0_a351 u0_a351 28 B Wed May 8 21:00:04 2024 pictures@ ⇒ /storage/emulated/0/Pictures
lrwxrwxrwx. u0_a351 u0_a351 19 B Wed May 8 21:00:04 2024 shared@ ⇒ /storage/emulated/0
We can notice that in this case, we have a symlink to the external SD card. Let’s make sure of the absolute path of the external-1 directory.
❯ cd external-1
❯ pwd
/data/data/com.termux/files/home/storage/external-1
Perfect! Now we know where exactly we are in the context of Termux. Let’s make a note of that path because we’ll use it later.
Before we can configure the access to the storage, we need to set up NetHunter. We can follow the documentation to install a Rootless version of NetHunter.
After that, we’ll need to modify the proot command it contains. In plain terms, Proot is a user-mode implementation of chroot.
We can open install-nethunter-termux with any editor, and we’ll search for cmdline=“proot. We need to change the command to include two more lines, one to mount the internal SD card and another one to mount the external SD card.
cmdline="proot \\
        --link2symlink \\
        -0 \\
        -r $CHROOT \\
        -b /dev \\
        -b /sdcard \\
        -b /proc \\
        -b $CHROOT\$home:/dev/shm \\
        -b /data/data/com.termux/files/home/storage/external-1:/mnt/external_sd \\
        -w \$home \\
           /usr/bin/env -i \\
           HOME=\$home \\
           PATH=/usr/local/sbin:/usr/local/bin:/bin:/usr/bin:/sbin:/usr/sbin \\
           TERM=\$TERM \\
           LANG=C.UTF-8 \\
           \$start"
The lines that we should add are -b /sdcard \\ and -b /data/data/com.termux/files/home/storage/external-1:/mnt/external_sd \\.
“-b /sdcard \\” means that we’ll mount the /sdcard directory in the context of Termux to the /sdcard directory in the context of Kali.
“-b /data/data/com.termux/files/home/storage/external-1:/mnt/external_sd \\” includes two paths separated by a “:”. The first path represents the path in the context of Termux, and the path after the “:” is the location where we want to mount the path in the context of Kali. In this case, this path will be available at /mnt/external_sd.
Tip
The two backslashes at the end of each line represent that the command continues in the following line.
After modifying the file, we can save it and proceed to run ./install-nethunter-termux.
The installer will prompt for the same options as in the installation. In my case, I selected the full version.
After that, it will indicate that the rootfs directory exists, and ask us if we want to delete it, we need to answer N.
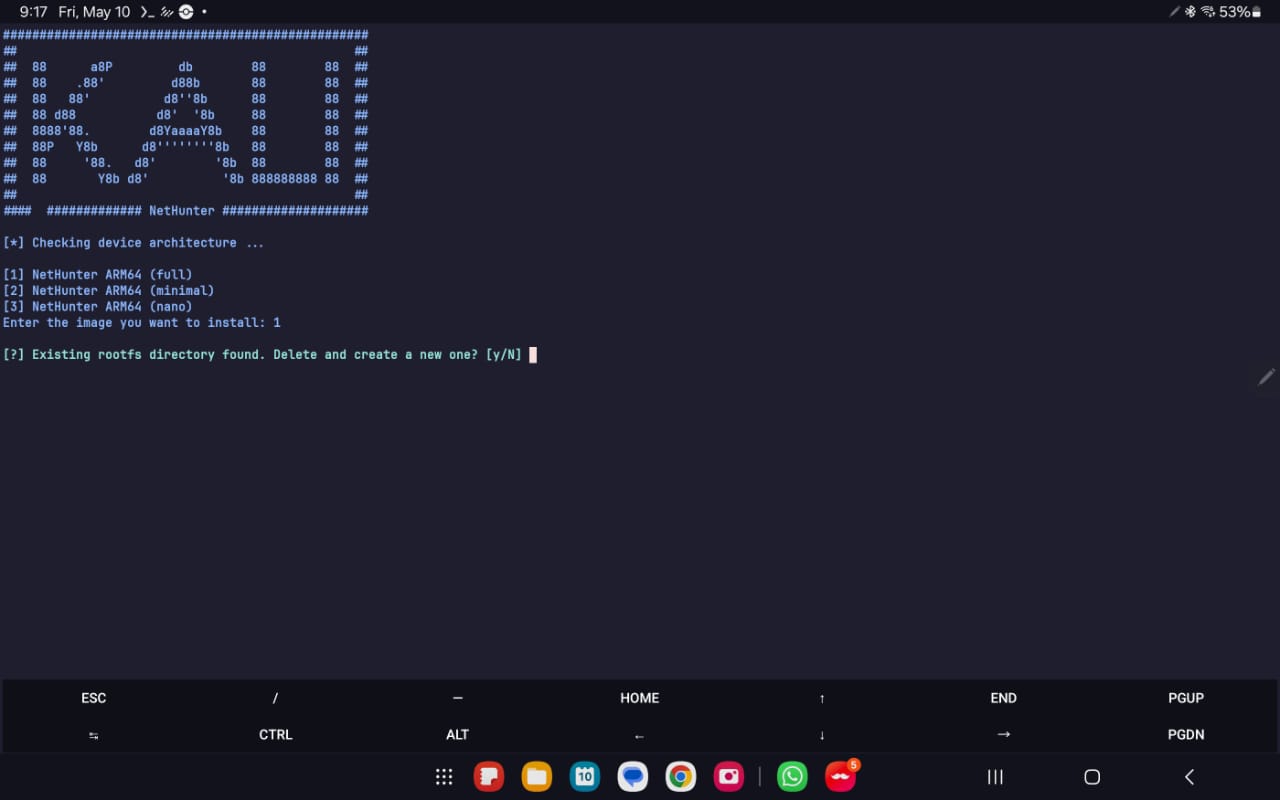
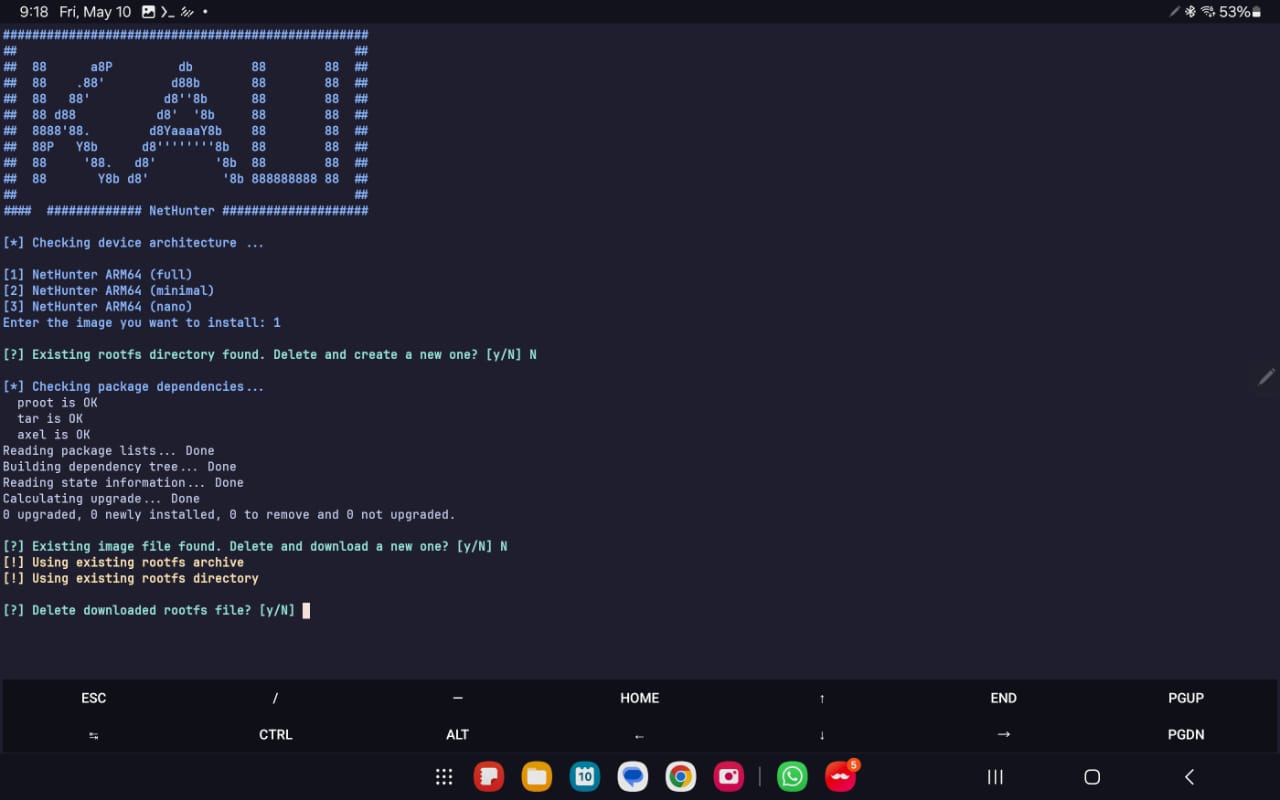
The next step will ask us if we want to delete the current image and download a new one, we’ll answer N again.
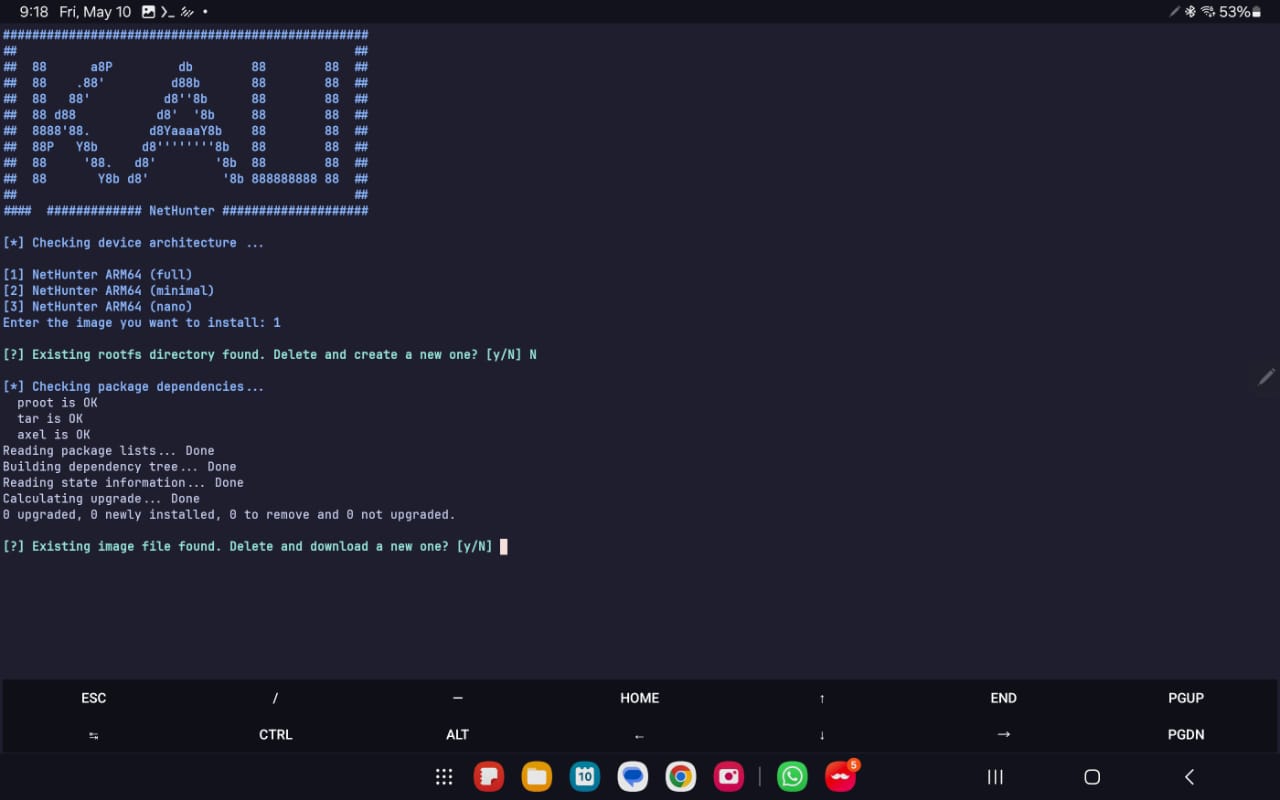
Finally, it will prompt us to delete the rootfs file. We’ll also answer N.
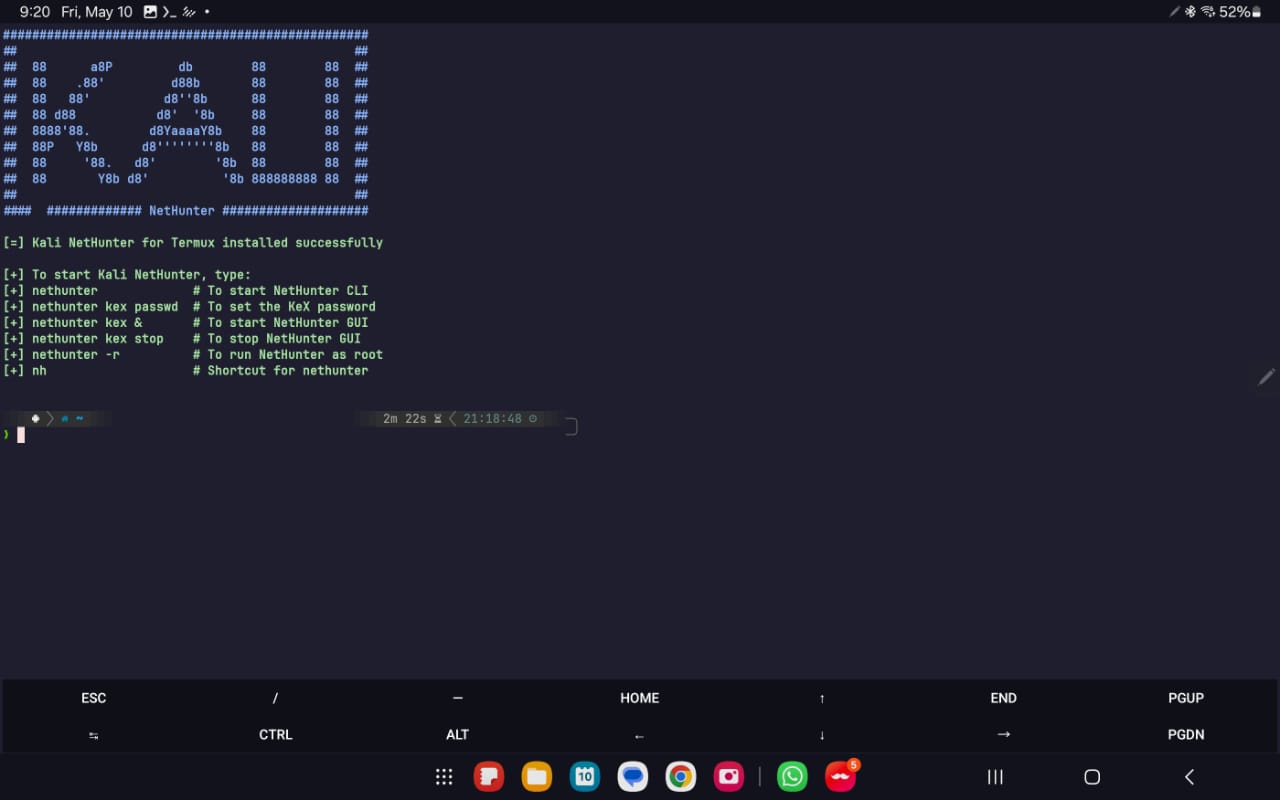
Upon finishing, we’ll get a screen telling us the commands that we can use to start NetHunter.
Now we can proceed to test if we have access to both SD cards. First, let’s write a file on the internal and external storage from Termux.
❯ echo "hello internal storage" > /sdcard/internal.txt
❯ echo "hello external storage" > ~/storage/external-1/external.txt
Now that we have written files on both storage locations, let’s check if we have access to them from NetHunter. First, from the Termux terminal, we can enter NetHunter with the nethunter command. Then, we’ll use cat to read the files we previously wrote.
❯ nethunter
┌──(kali㉿localhost)-[~]
└─$ cat /sdcard//internal.txt
hello internal storage

┌──(kali㉿localhost)-[~]
└─$ cat /mnt/external_sd/external.txt
hello external storage
Excellent! It worked!
In this post, we have analyzed how we can mount both the internal and external SD cards of an Android device to NetHunter by using Termux.
